
Office Blog
How do you use the Pen Tool in PowerPoint?

The Pen Tool in PowerPoint is a handy feature that allows you to draw attention to specific elements in your presentation by annotating directly on your slides. Here’s a step-by-step guide on how to use it effectively.
Step 1: Open Your Presentation
Command:
- Launch PowerPoint and open the presentation you want to work with.
- Ensure you are on the slide where you want to use the Pen Tool.
Step 2: Start Slide Show Mode
Command:
- Click on the
Slide Showtab at the top of the screen. - Select
From BeginningorFrom Current Slideto start the presentation.
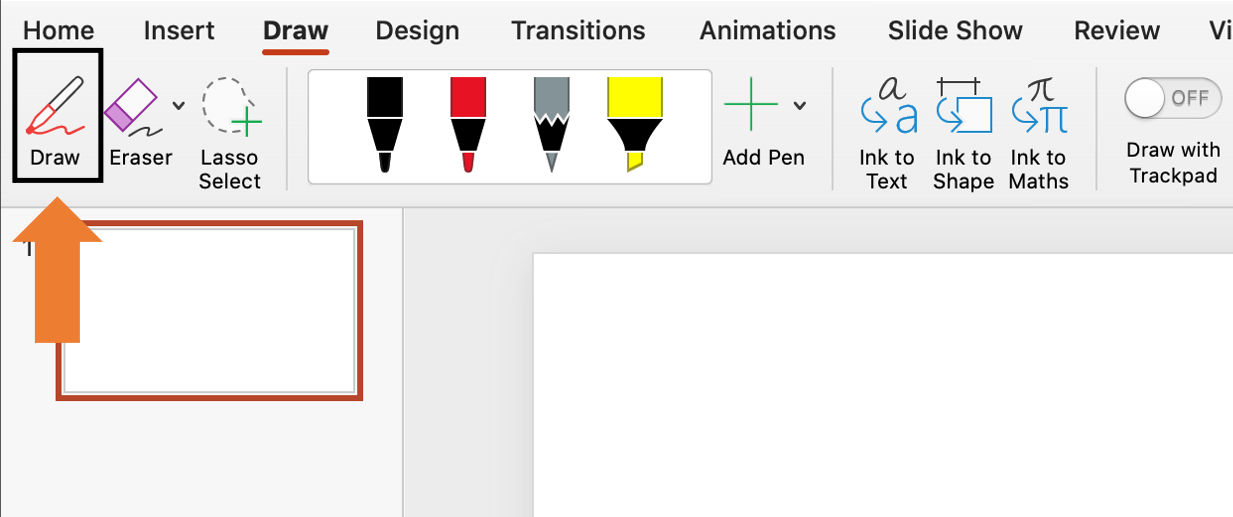
Step 3: Activate the Pen Tool
Command:
- Right-click on the slide to open the context menu.
- Hover over the
Pointer Optionsto expand the sub-menu. - Select
Penfrom the available options.
Step 4: Annotate Your Slide
Command:
- Use your mouse or touchpad to draw or write directly on the slide.
- Adjust your annotations as necessary to emphasize key points or details.
Step 5: Change Pen Color
Command:
- Right-click on the slide again to bring up the context menu.
- Go back to
Pointer Options, then clickInk Color. - Choose your preferred color to make your annotations more effective or visually appealing.
Step 6: Save Your Annotations (Optional)
Command:
- To save your annotations, exit the Slide Show mode by pressing the
Esckey. - A prompt will appear asking if you want to keep your ink annotations. Click
Keepto save, orDiscardif you don’t want to retain them.
Step 7: Exit Slide Show Mode
Command:
- Press the
Esckey to exit Slide Show mode. - Your annotations will now be visible on the slides if you chose to keep them.
Step 8: Erase Annotations
Command:
- Right-click on the slide during the presentation to open the context menu.
- Navigate to
Pointer Optionsand selectEraser. - Click on the annotations you want to remove.
Unlock the full potential of your productivity suite with our unbeatable prices on the cheapest Office keys available!